> > > Tips on locations 
[]
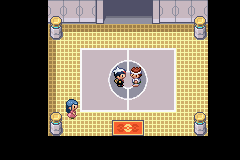
Places to discover: The Battle Tower | The Battle Tower in Pokémon Ruby and Sapphire is a real treat! First of all, you should know that you won’t earn any experience points or money from battling the Trainers there. It’s simply there to let you refine your strategy and build the best team possible, rather than spending your time in the tall grass!
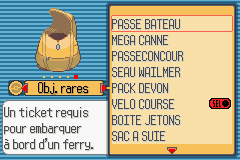 To get in, you must have beaten the Pokémon League at least once.
After that, when you get home, you meet your father, who congratulates you on beating the Pokémon League by giving you the S.S. Ticket.
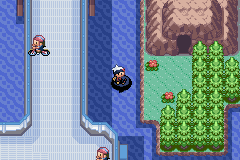
Once you have it, head to Slateport City or Lilycove City to catch the ferry that will take you to the Battle Tower. 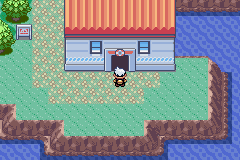 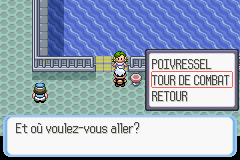
Once you’re there, you can leave dry land by using Fly!
Note that once inside the Tower, you’ll have to win a certain number of matches to earn a prize. Managing to beat all the Trainers in the Battle Tower will earn you a Star for your Trainer Card.
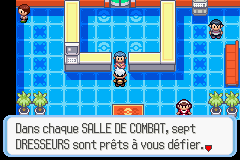
Go in and choose your level:
– If you choose Lv. 50, you’ll need 3 Pokémon at or below level 50, none of them legendary (no Kyogre, Groudon, Rayquaza or other Regirock).
– Same thing for level 100.
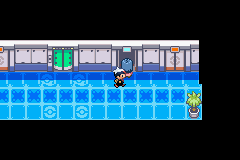
Be careful, there are still a few rules to follow:
– No more than three Pokémon per match.
– You can’t use any items (your Pokémon will be healed at the end of each match). There will be 7 battles to win before you can save (that’s 21 level 50 Pokémon to defeat! You can’t say you’ll be short of training!).
Once those battles are over, you receive an item that is rather rare but very expensive, and useful for your Pokémon.
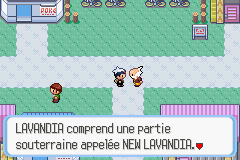
The FAQ gives you the list of the items you can win. | | After beating the Pokémon League, go to Mauville City. Wattson, the Gym Leader of this city, asks you to go to the power plant (which he calls “New Mauville“). He then gives you the key to this plant. Go to Route 110, then use Surf until you reach a small cave. There are quite a few items to pick up here, but nothing special.
As for Pokémon, there are a few Magnemite and Voltorb to catch.
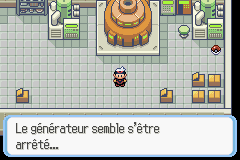
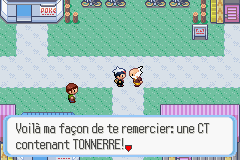
The blue switches on the floor open some blue doors, and close some green doors… It’s the opposite for the green switches on the floor! => See the map of the power plant here At the end, turn off the generator, take the Thunder Stone, then go back to see Wattson, who will give you TM24 Thunderbolt! |
The Safari Zone | 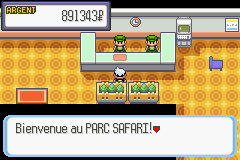 The Safari Zone is back, and no mistake!
You can catch older Pokémon there, which have become rare in these new versions. To get in, you’ll need the Pokéblock Case (you can find it in the Pokémon Contest Hall in Slateport City). 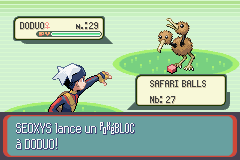 Then head -just- before Lilycove City to enter the Safari Zone.
Inside, you’ll get 30 Safari Balls and the chance to take 500 steps in the park.
Come back often to see everything! => Click here to see the map of the park Here is everything you can catch inside the Safari Zone: | North-West area: | | Psyduck, Goldeen, Seaking, Magikarp, Oddish, Gloom, Doduo, Dodrio, Pinsir, Rhyhorn. ACCESSIBLE WITH THE MACH BIKE |
| North-East area: | | Geodude, Oddish, Gloom, Natu, Xatu, Phanpy, Heracross. ACCESSIBLE WITH THE ACRO BIKE |
| South-West area: | | Psyduck, Golduck, Goldeen, Seaking, Magikarp, Oddish, Gloom, Doduo, Pikachu, Wobbuffet, Natu, Girafarig. |
| South-East area: | | Oddish, Gloom, Doduo, Pikachu, Wobbuffet, Natu, Girafarig. |
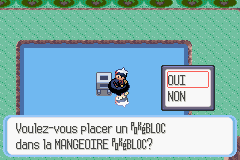
I don’t recommend using your Pokéblocks as bait in battle. Instead, put them in the feeders around the tall grass! 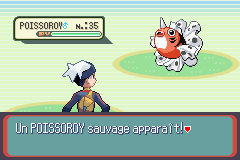
These feeders will attract the Pokémon of each area toward you if you stand around the feeder.
In battle, use only your Safari Balls, and pelt the opposing Pokémon! |
The Day Care | The Day Care has been around since the very first versions, and has gradually improved…
Note that the one in Ruby and Sapphire is identical to the one in Gold/Silver.
This Day Care has several advantages:
– The Pokémon you leave there level up quickly!
– Compatible Pokémon can breed!
– Pokémon in Eggs can get moves they normally can’t learn! Let’s imagine a breeding example:
 I put a female Feebas and a male Pelipper in the Day Care.
Both Pokémon belong to the same Egg Group: Water 1. They can breed.
The Egg the man gives me will be a Feebas Egg!
Why? The mother’s pre-evolution always wins out. The father is only there to pass on moves.
The Feebas’s gender, however, will be random, just like its Nature. To find out when your Egg will hatch, just look at the “Status” box in the Egg’s information. |
Shoal Cave | 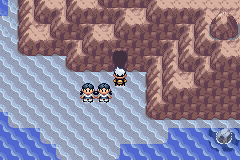 First, bring Pokémon that know Surf and Strength, then head north of Mossdeep City, where Shoal Cave is located!
This cave is quite special, since it changes shape depending on the time. In fact, it uses the tide system.
=> Low tide: 3 to 9 a.m. and 3 to 9 p.m.
=> High tide: 9 a.m. to 3 p.m. and 9 p.m. to 3 a.m. There you’ll find an old man who will ask you to bring him 4 Shoal Salts and 4 Shoal Shells.
In fact, you get these items at the two different times:
– The Shoal Salts at low tide
– The Shoal Shells at high tide In exchange for these 8 items, he’ll make you a very rare item: the Shell Bell.
Once held, it will restore a little of your Pokémon’s HP each turn of a battle. Low tide:
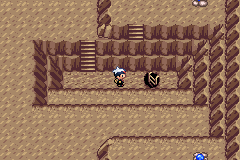 Go into the cave between the times given above.
It’s easy to recognize: there’s almost no water inside.
– Go through the opening at the top of the first room
– Take the stairs on the right
– Take the ladder on your right
– You’ll find an Ice Heal and your first Shoal Salt. (1/8)
– Take the stairs, then the only ladder at the end.
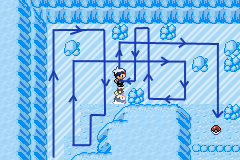
– Follow the bridges to the ladder at the top of the last bridge (see picture).
– You’ll come to a person who gives you a Focus Band, then take the opening on the left.
– Go up to find the second Shoal Salt(2/8)
– Turn around and take the third Shoal Salt(3/8)
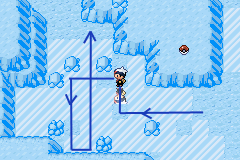
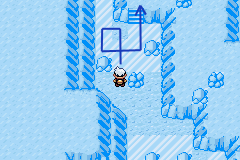
– Use Strength, and you’ll reach an icy floor.
– To get the TM07, follow the maps below
– Come back by the stairs, take the fourth and last Shoal Salt, then leave. You’ll be back at high tide. (4/8) High tide:
Go into the cave between the times given above.
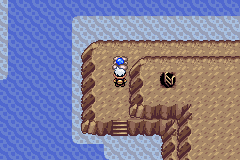 Surf upward and you’ll reach a room where you’ll have to search for the 4 Shoal Shells. That shouldn’t be a problem!
(5/8) (6/8) (7/8) (8/8)
The rare item:
Now go see the old man near the entrance, then give him the 8 items. He’ll then make you the famous Shell Bell. |
The Trick House | At the intersection of Route 103 and 110 there is “the Trick House“!”, where inside there’s only a glass that sparkles the first time you enter…
Thanks to this tip, you’ll be able to unravel the mystery of this mysterious house…
First, I recommend having good Pokémon, as much 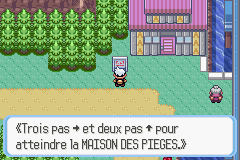 room as possible in your bag, checking all your HMs and having all the Badges…
It’s actually a series of puzzles to solve where each time you’ll have to pick up one or more items.
The advantage of this house is that you can win 9 rare items, and a unique one for your Secret Base (see below). Here is the guide to the house: – Introduction:
Just talk to the glass on the table to enter the second room.
Sometimes it’s a different object, so look carefully!
No prize.
=> See the map of the first room – First room:
This is your first trial. Talk to the table to start the trial.
Here you have to cut all the bushes and challenge all the Trainers.
A Rare Candy as a prize.
=> See the map of the second room – Second room:
Talk to the tree on the right. You’ll have to challenge all the Trainers and talk to the scroll. Use the switches to close the trapdoors and move forward.
A Net Ball as a prize.
=> See the map of the third room – Third room:
Talk to the dresser drawers. You’ll have to challenge all the Trainers and talk to the scroll. Watch out for the switches, you can get stuck!
A Hard Stone as a prize.
=> See the map of the fourth room – Fourth room:
Talk to the window on the left. Challenge all the Trainers, and talk to the scroll. Be careful when you push the blocks, they can trap you!
A Smoke Ball as a prize.
=> See the map of the fifth room – Fifth room:
Now you have to talk to the tree on the left. Go to the end of the question mark and talk to the scroll to move on.
In this room there are robots that will ask you questions. The same robot won’t always ask the same question, which is why we can’t give you all the answers.
TM12 as a prize.
=> See the map of the sixth room – Sixth room:
To start, you have to talk to the display case on the far right. Use some logic to push the turnstiles. Of course, beat all the Trainers and talk to the scroll.
A Magnet as a prize.
=> See the map of the seventh room – Seventh room:
At the start, talk to the window on the right. It’s very simple, like in the 7th Gym. As usual, you’ll have to beat everyone and talk to the scroll.
A PP Max as a prize!
=> See the map of the eighth room – Eighth room:
To finish, talk to the cushion at the bottom left. It’s easy when you have the map in front of you. Don’t forget, as usual, to beat all the Trainers and talk to the scroll to reach the end!
=> See the map of the last room for help.
As a prize you receive a Blue Tent in Sapphire and a Red Tent in Ruby.
You’ve finally completed the Trick House! |
|